
What follows is a LOT of detail about what’s in my kit and why it’s there. I wrote it for the sort of person who likes detail and whose brain is always yesbutwhywhywhy. When I’m learning, knowing why things are done a certain way really helps me to understand. And maybe that’s you, too.
If, however, you want a short summary / to buy a kit straightaway – go here, to my shop.
When I learned to screen print it was in a pro studio with all the gear. I already had an A4 Speedball wooden screen that had been gathering dust because I didn’t have the confidence to start. But when I finally saw screen printing being demonstrated, I was h o o k e d. The materials were so humble – paper, ink, scalpel – but the result was pure drama.
But screen printing at home is not the same as printing in a pro studio. For one thing, an A4 screen – even though quite small by silk screen standards – is actually a bit of a pain in the arse to clean up if your sink isn’t massive. And if you don’t have an exposure unit / can’t get your head around UV lights / don’t want to spend ages scrubbing your one screen, because you’ve used solvents to make one image, what then?
We learn by doing, many times over. That’s why stencil screen printing is so fantastic, because you’re able to make a stencil very fast, print it and move on. The simplicity of the method allows you to test out ideas quickly, so you can find your style and confidence as a printmaker AND develop muscle memory (how does it feel to get the pressure just right / how many sweeps of the squeegee do I need to print this thing / what does thick fabric feel like vs. thin ones? ETC). Most beginners aren’t interested in making 20 copies of the same image, because they’re still learning and figuring out the kind of work they want to make.
Also, what if you don’t own loads of screen printing inks, squeegees, hinges, space, time, money? Some of the equipment I used to make great work in the studio were missing when I got home. So things went wrong and I couldn’t work out why. I’d also read all kinds of (frankly quite patriarchal) rules about the screen printing process that I think derive from screen printing’s past as a trade and profession. It was, after all, a technical method of reproduction. I get it – those persnickety rules matter when technical reproduction is what you’re doing. But I just wanted to have fun and play with colour and pattern. And sometimes, just sometimes, those process rules felt a little like gate-keeping to me.
So over many, many months, I started to unpick them. Some of the stuff I’d read and been told – about the kit you have to have and exactly how it should be done – could actually be put to one side. I know you are thinking: why is this woman positioning herself as some sort of renegade when we are talking about printing fabric? But I really, really, really want to empower people who make at art at home and I hate it when people blame themselves when they’re learning a new skill. In my private teaching, hearing ‘What did I do wrong?’ breaks my heart a little bit. I was in your shoes once.
I want people who take up screen printing to experience as much joy as I have. The best way to do that – it seems to me – is to simplify the whole thing and use methods that are cheap, quick, low-risk and easy to reset. That’s why I’ve put together a no-frills kit, where I only included the things you need, and they’re all borne out of my own experience of experimenting at home. And now, included in the kit is a 1.5hr live demo on Zoom, so you can have it delivered and then watch me show you how to use it.
Here’s what’s in the box:
Bespoke-made 21x21cm aluminium silk screen with 43t mesh
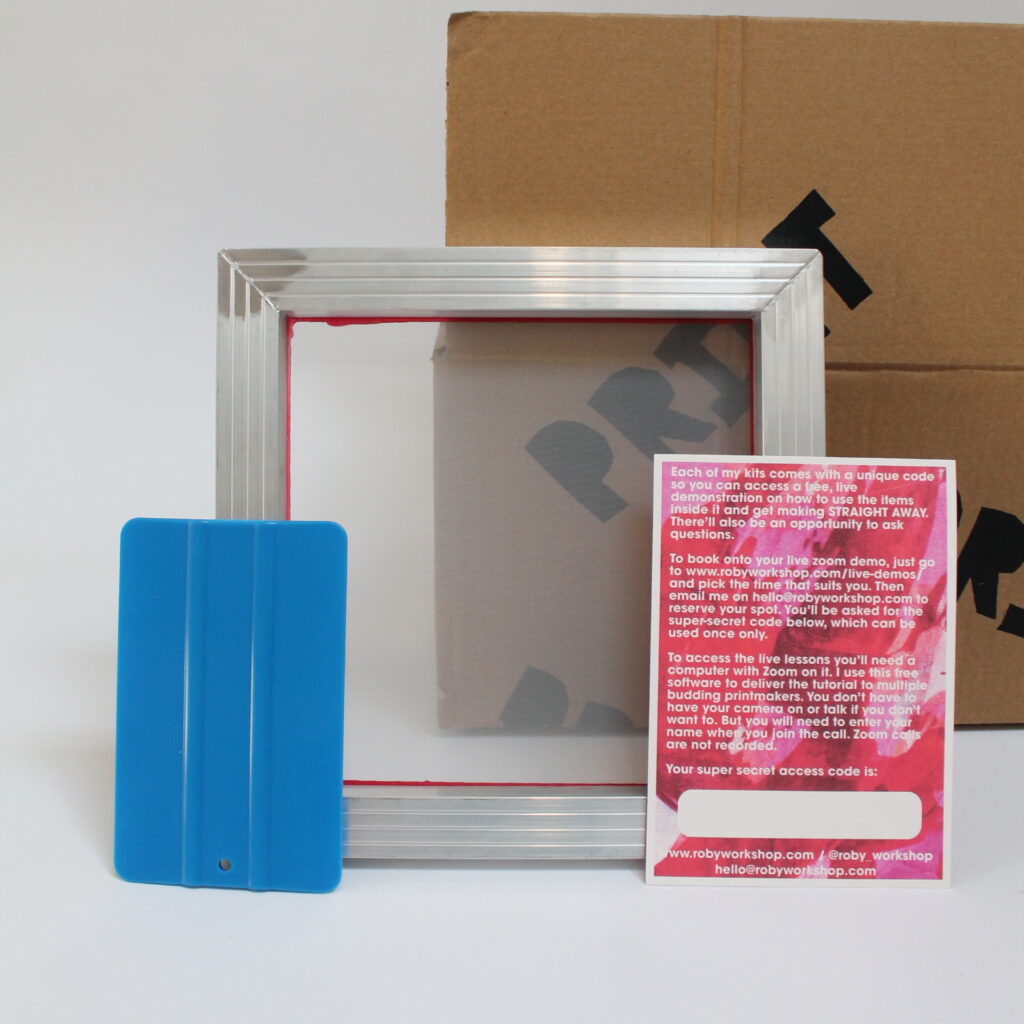
This screen is square, 21cm and aluminium. Square, because in my experience, square designs are easier to resolve than rectangles. 21cm because then you can still use regular A4 copy paper to make your stencils and also because a screen this size will fit into ANY kitchen sink for clean up. It’s aluminium because wooden screens sometimes warp and alu ones can be re-meshed if damaged. Also: small and light enough to use one hand to hold it in place (so no need for clamps or hinges) and yet, big enough to print bold motifs so you can build up many prints and make more ambitious work. (Here is a massive artwork I made using small screens alongside 155 Stockport humans).
[more boring/non-boring detail? YES.]
43t mesh means there’s 43 threads per inch of mesh. Now, silk screen meshes have a thread count of anything between 25 to 400 threads per inch, but the most common are 43t for fabric and 90t for paper. All you need to know, is that a silk screen with 43t mesh has bigger teeny tiny holes in it compared to the teeny tiny holes in a 90t screen. And because fabric is thirsty (especially if you’re planning to be bold, and print on other textiles other than cotton) you’re going to need more ink than you would on paper.
As an aside, when I teach my in-depth, day-long course (Creative Screen Printing), I always get people to try loads of different fabrics because printing on them feels different and can require a few adjustments. This is why I get quite cross about screen printing ‘workshops’ that ask you to print once or twice on a cotton tote bag. You learn almost nothing by doing this (though granted, you may go home with a very nice bag).
Blue Mini Squeegee

I’ve tried lots of squeegees since I first learned to print. Mainly because I wanted to see what you could get away with/what cheaper hacks there might be. So I’ve tried: a cut up butter pot, bank cards and bread dough cutters, as well as ‘proper’ aluminium and chunky rubber squeegees – each with varying degrees of success. But these small blue squeegees are the squeegees I love the most.
They make it easy to control and deliver the correct pressure, whether you are working on thick wool or cotton canvas. They are really comfortable to handle and they bend just the right amount. So even though one of the rules I was told was your squeegee should be as wide as your stencil I’ve found it was more important – especially at home – to get good pressure (and that’s easier to do if you can manipulate the squeegee really easily with your hand). Even when I make big artworks for exhibitions (on massive screens that have to be power-washed in the bath), I use my blue squeegees to make my prints cleaner and neater.
Textile Screen Printing Medium
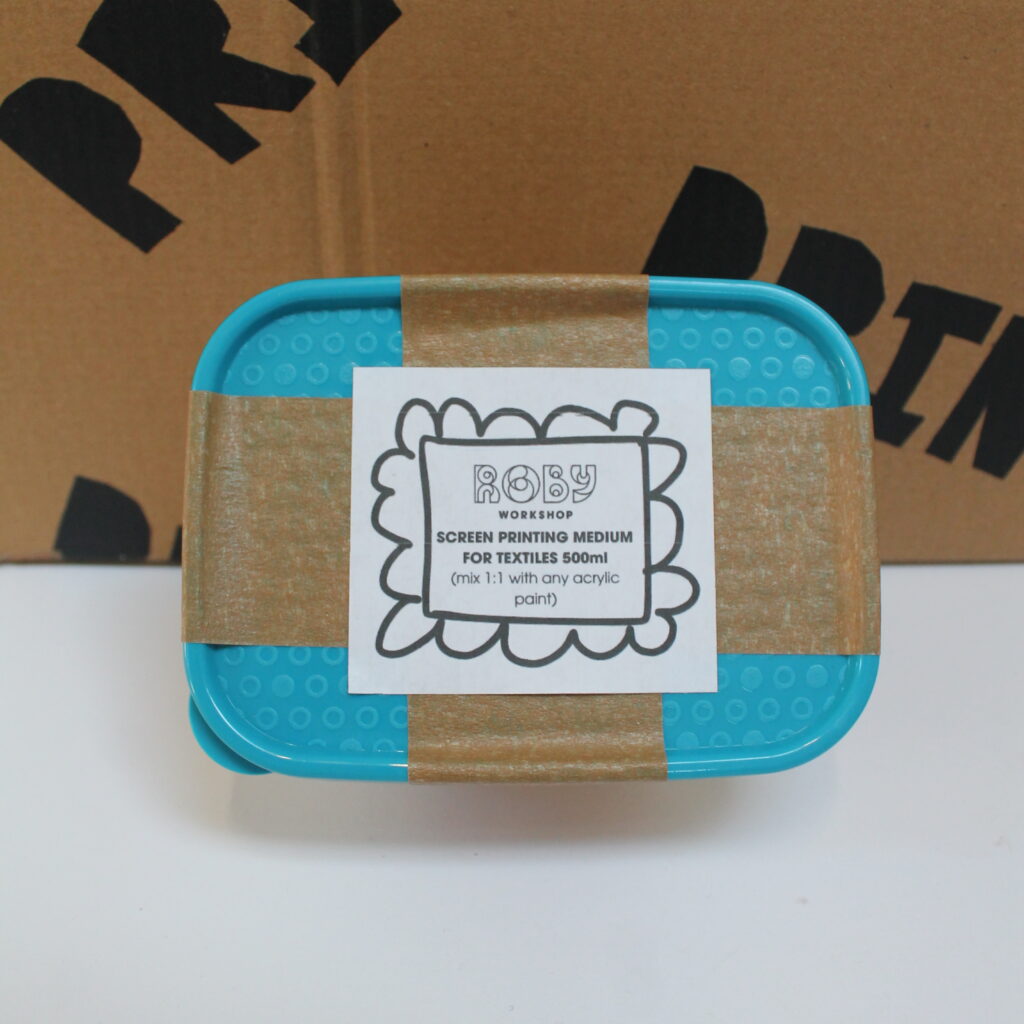
Mediums are the cheapest way to make screen printing inks. This one will convert any acrylic paint into screen printing ink suitable for fabric. So if you heat set it with an iron or heat gun (do be careful, synthetic fabrics will mellllllttt) you can wash what you print. I’ve tried thrimpty million different art shops and suppliers and the cheapest place acrylic paint I could find (in the UK) is in The Works. Mix up the colour you like, and then add the medium at a ratio of 1:1.
FYI the reason I don’t include inks in my kit is because a) most creative people already have acrylic paint and b) I don’t presume to know what colours you like. But if you are buying acrylics for use in screen printing, my advice is to buy all three primary colours (red, yellow, blue), plus black and a good quality opaque white. Down the line, it’s helpful to have fluoro colours too, Not because you are a 1980s day-glo enthusiast, but because they ‘lift’ dull colours in amazing ways.
[More detail? Why yes I can]
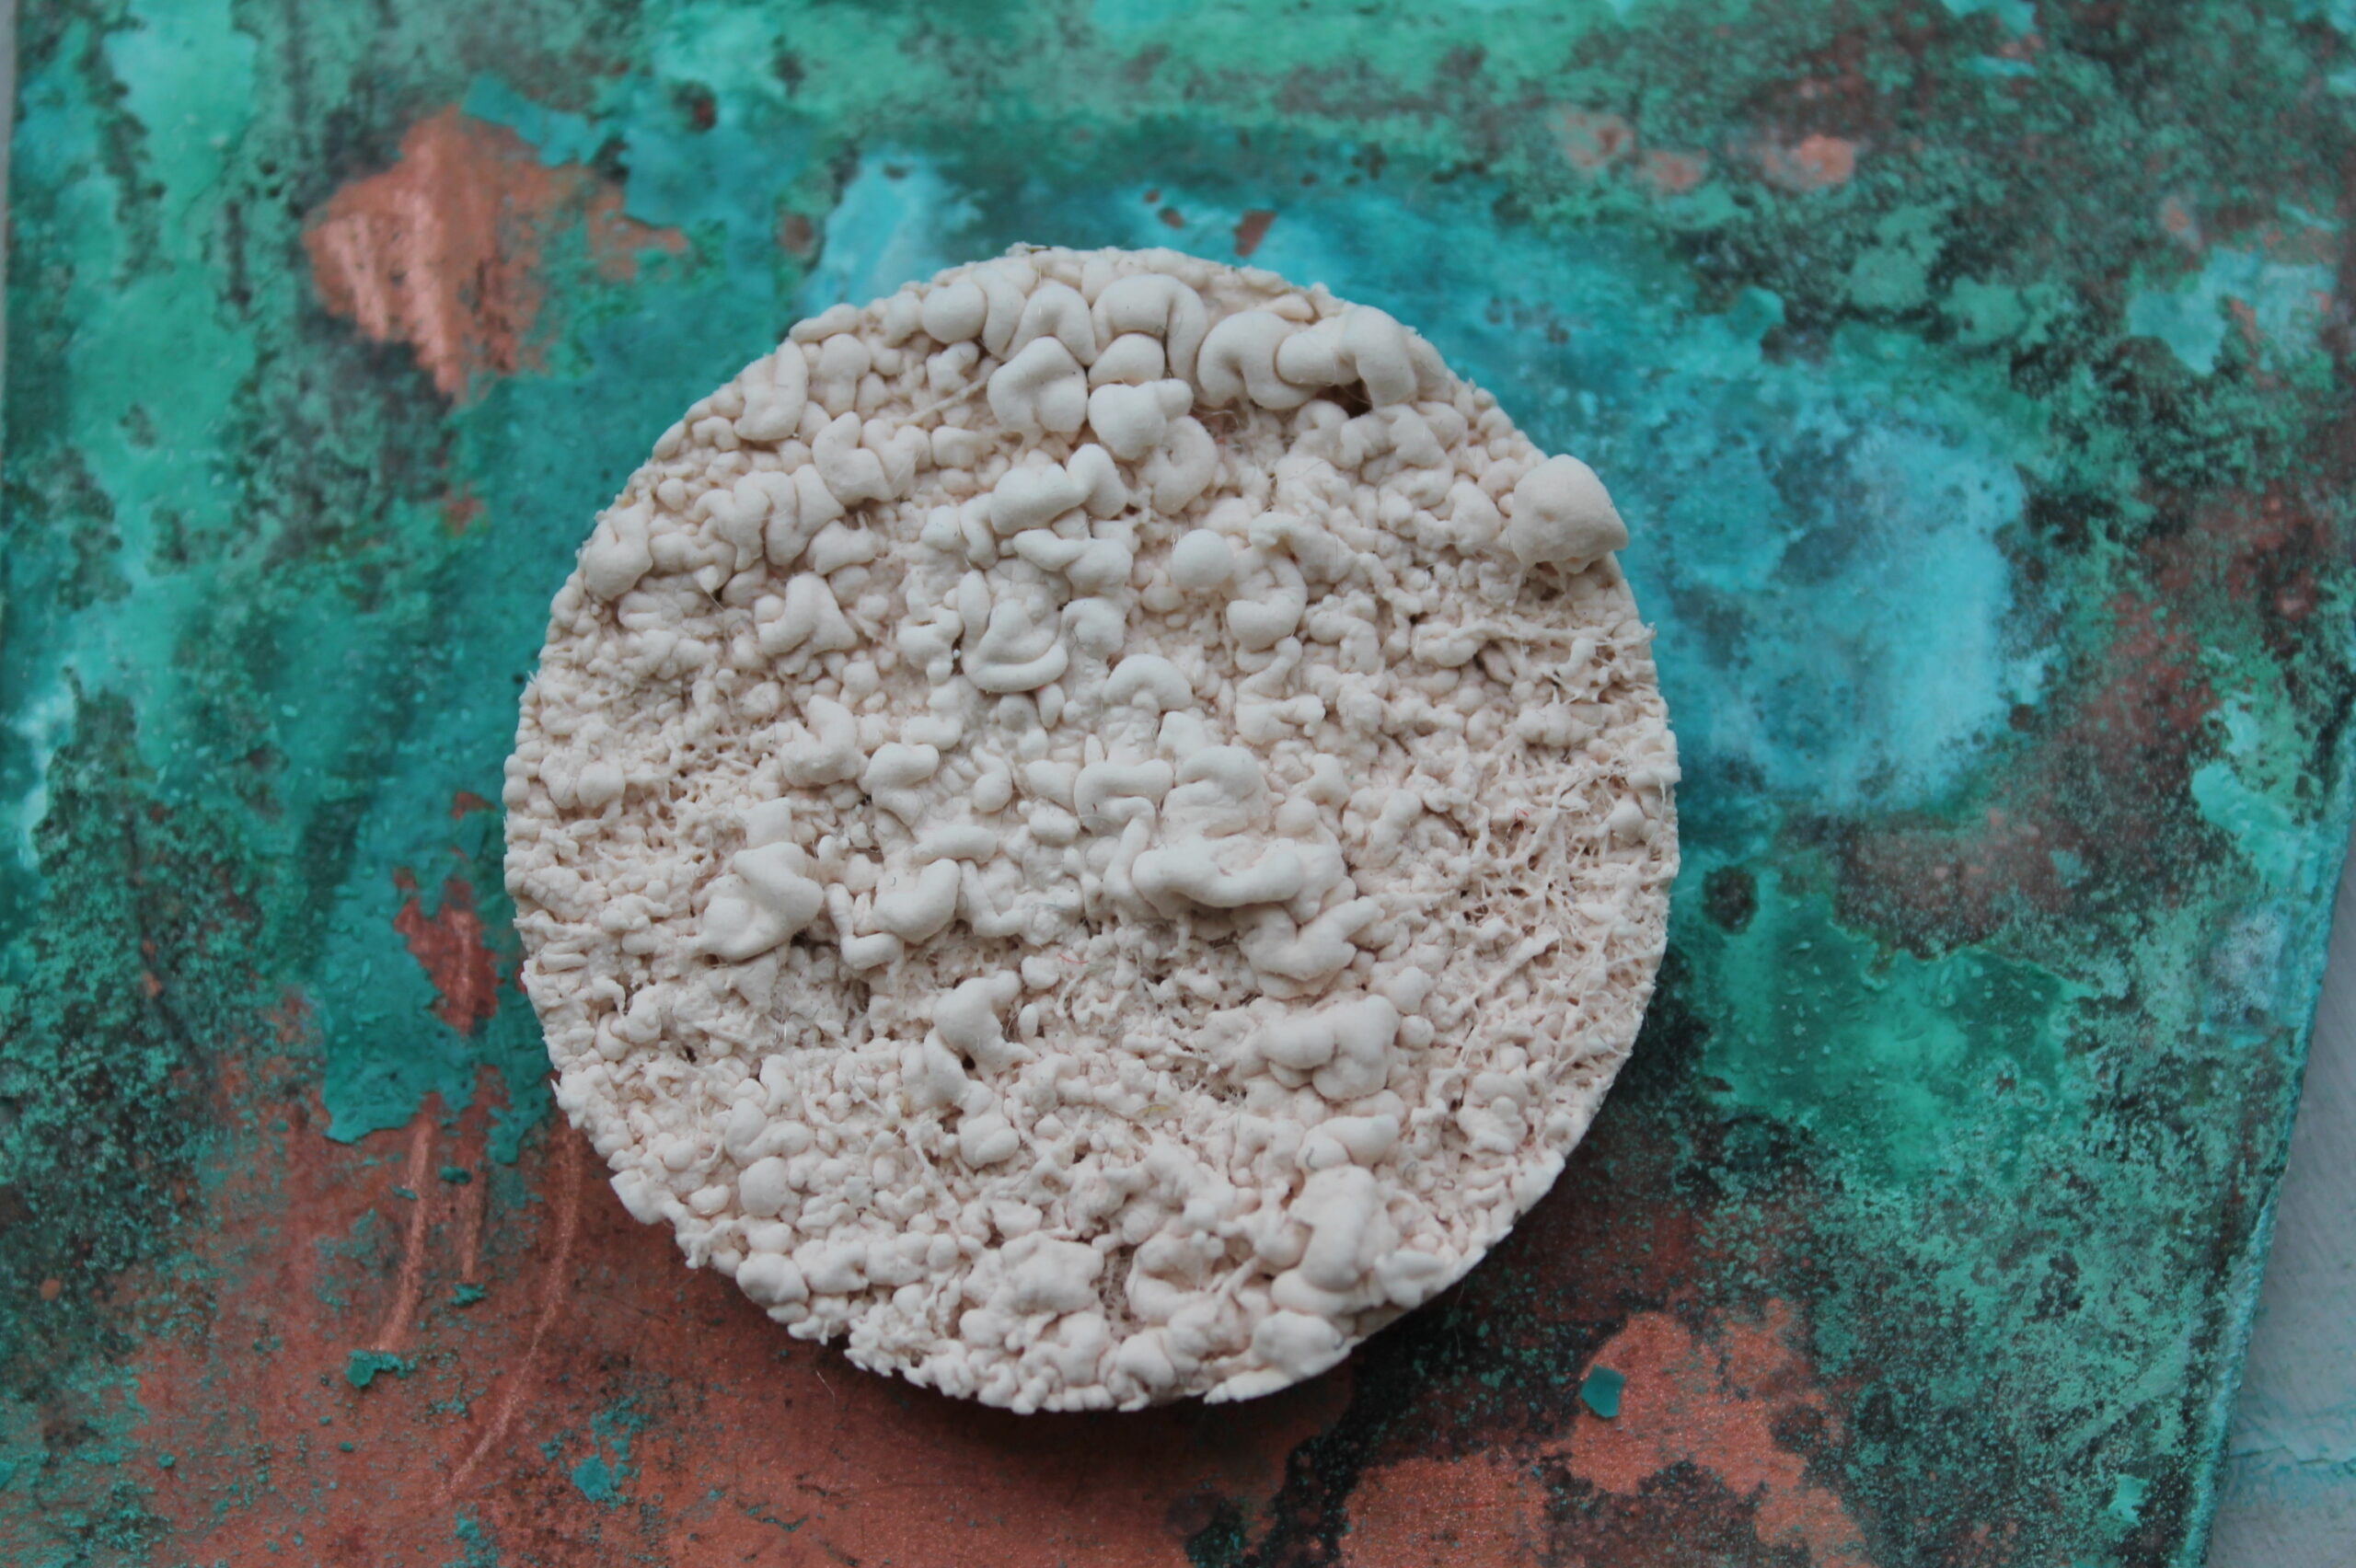
Other inks you might consider if you really get the printing bug include: glow-in-the-dark and ‘puff’ inks (see above: they go bobbly when you apply heat).
Learn How To Screen Print – my booklet
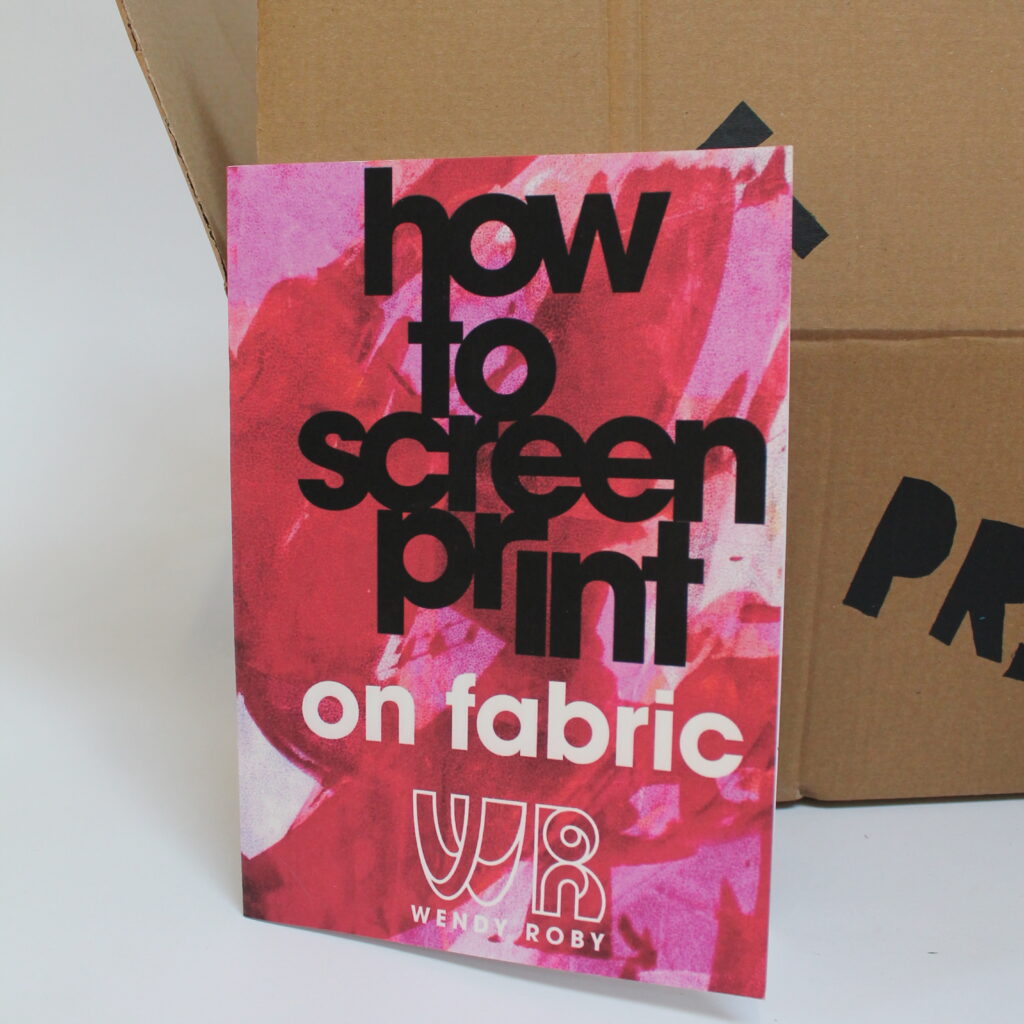
This short booklet contains really good basic instructions on how to set up your kit for screen printing. If you’ve just received your kit, it gives you all the info you need to get printing – whether you’ve already had your Zoom demo or not.
Print Area Stencil
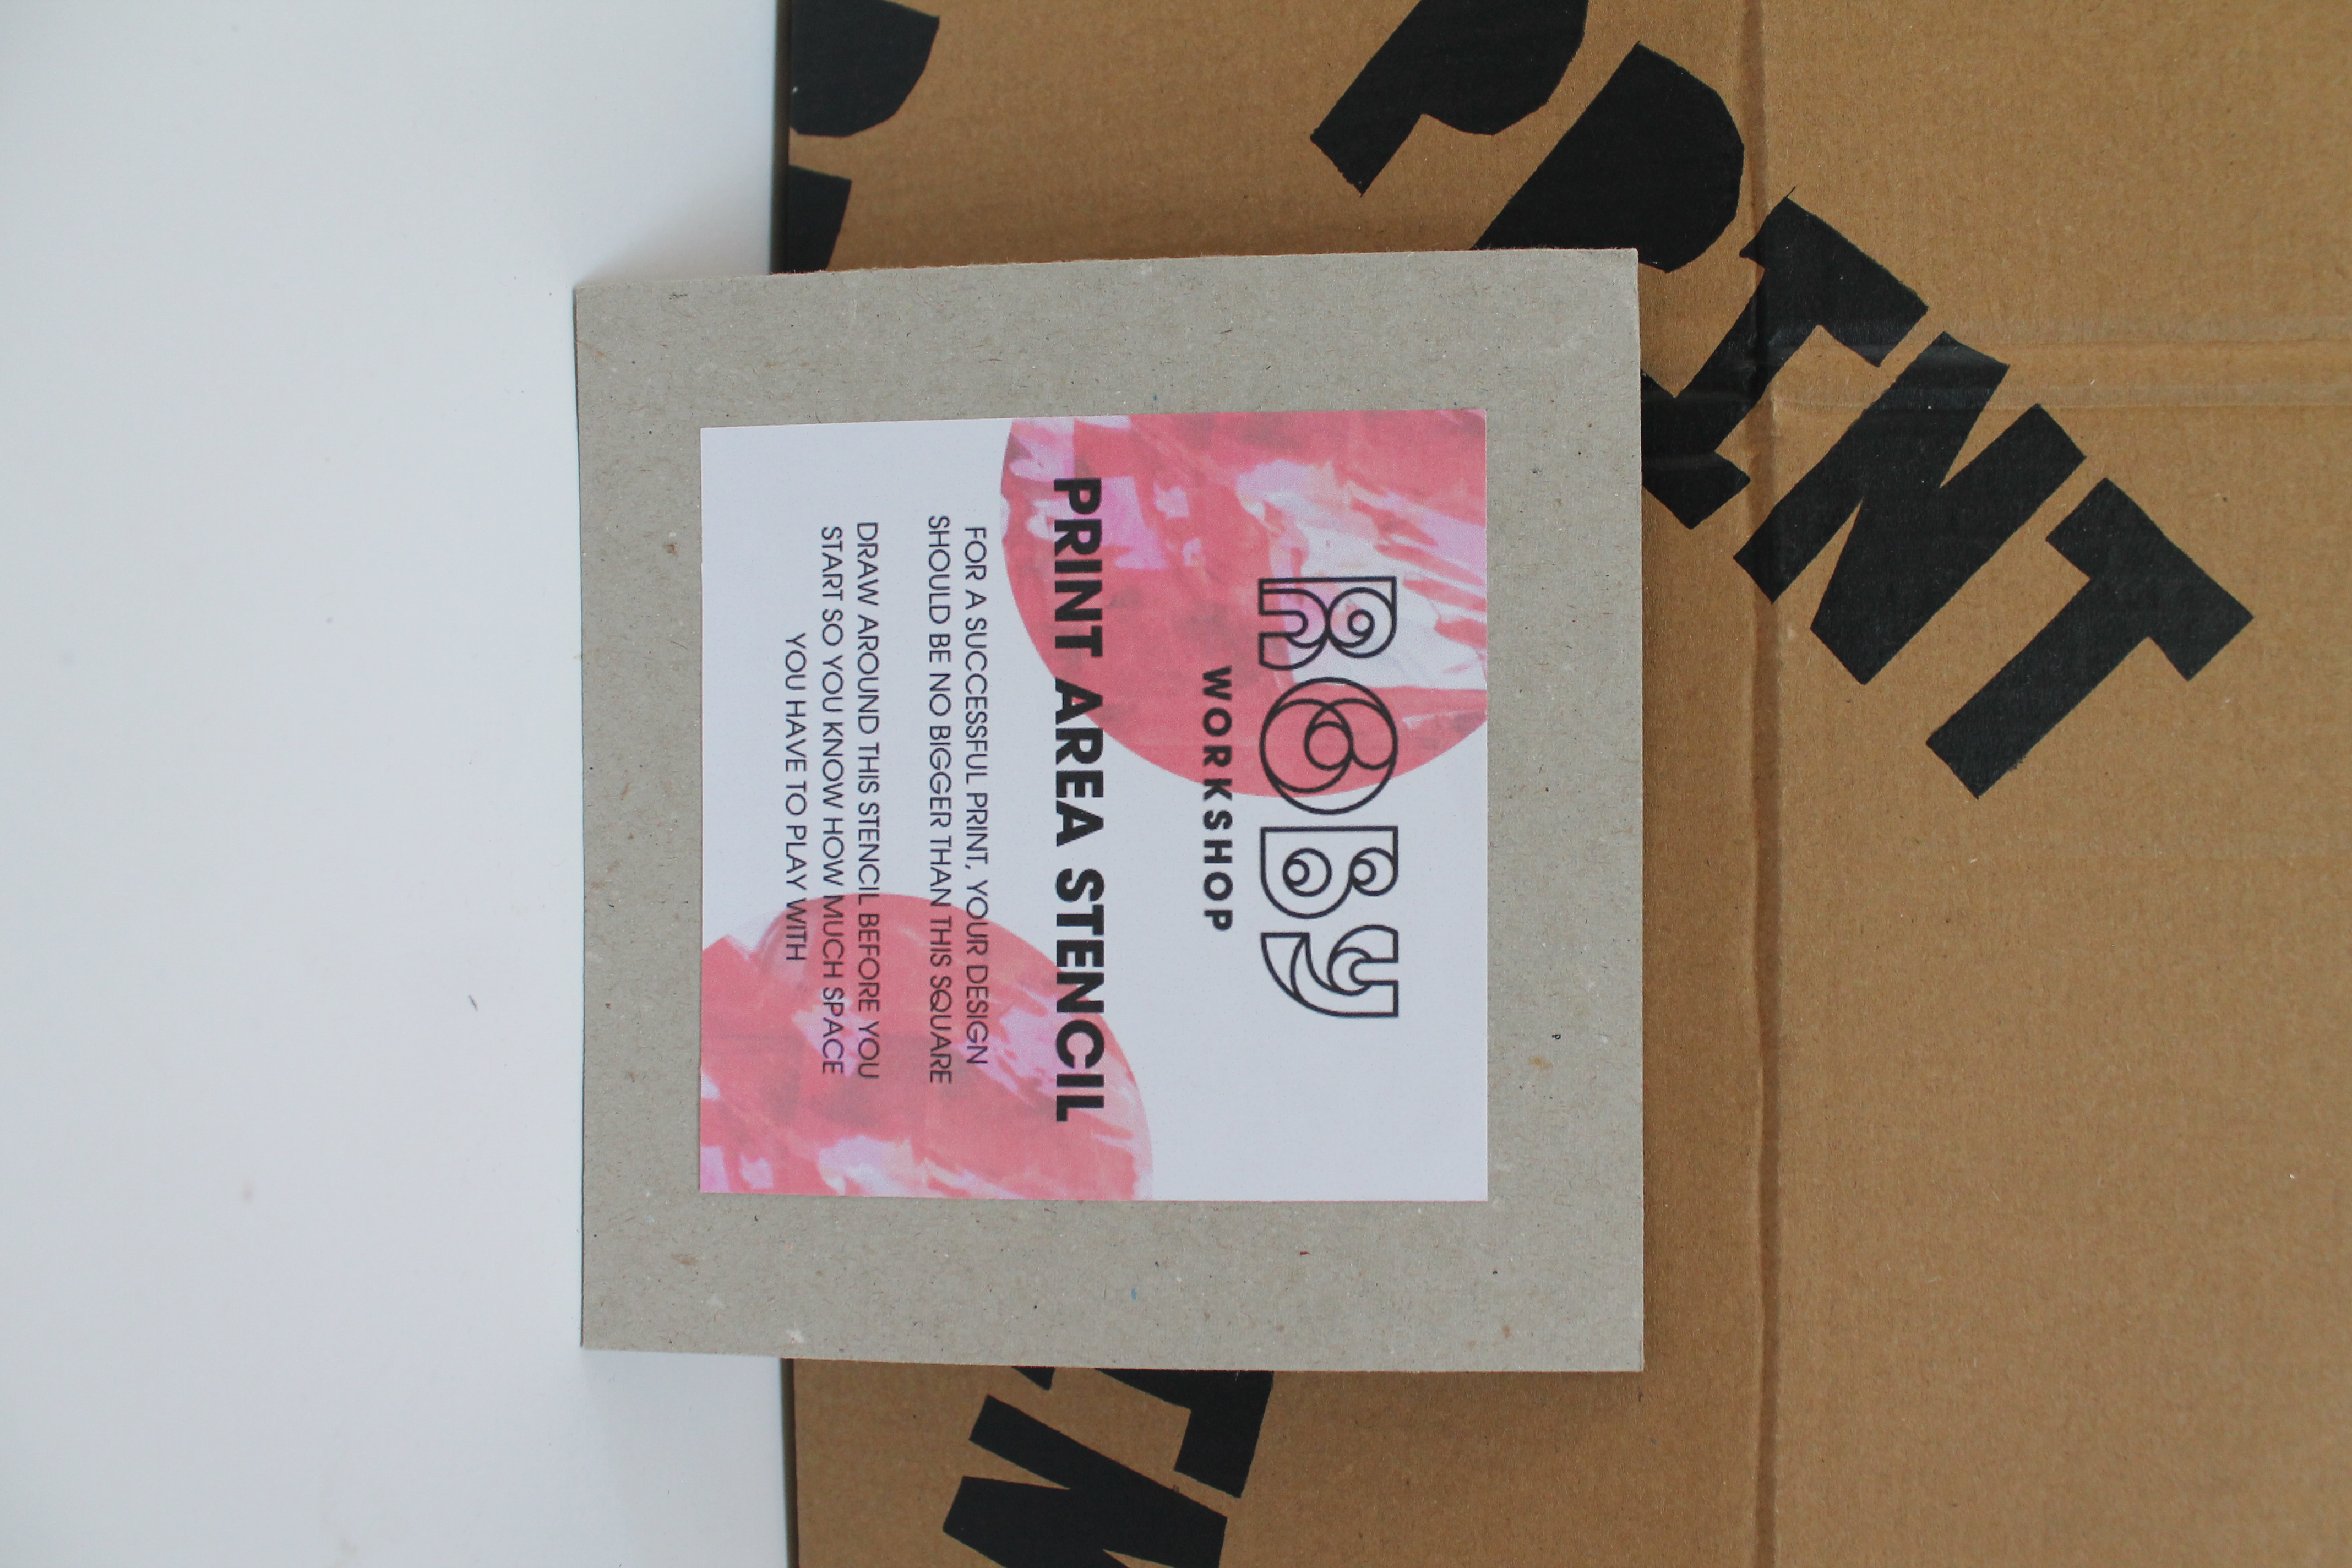
Beginner screen printers often forget how big their designs need to be, and that can cause problems if you’re too close to the inner edge of the silk screen frame. So this wee piece of cardboard is just something to draw around every time you make a stencil, so you know how big it can be.
Felt Pad
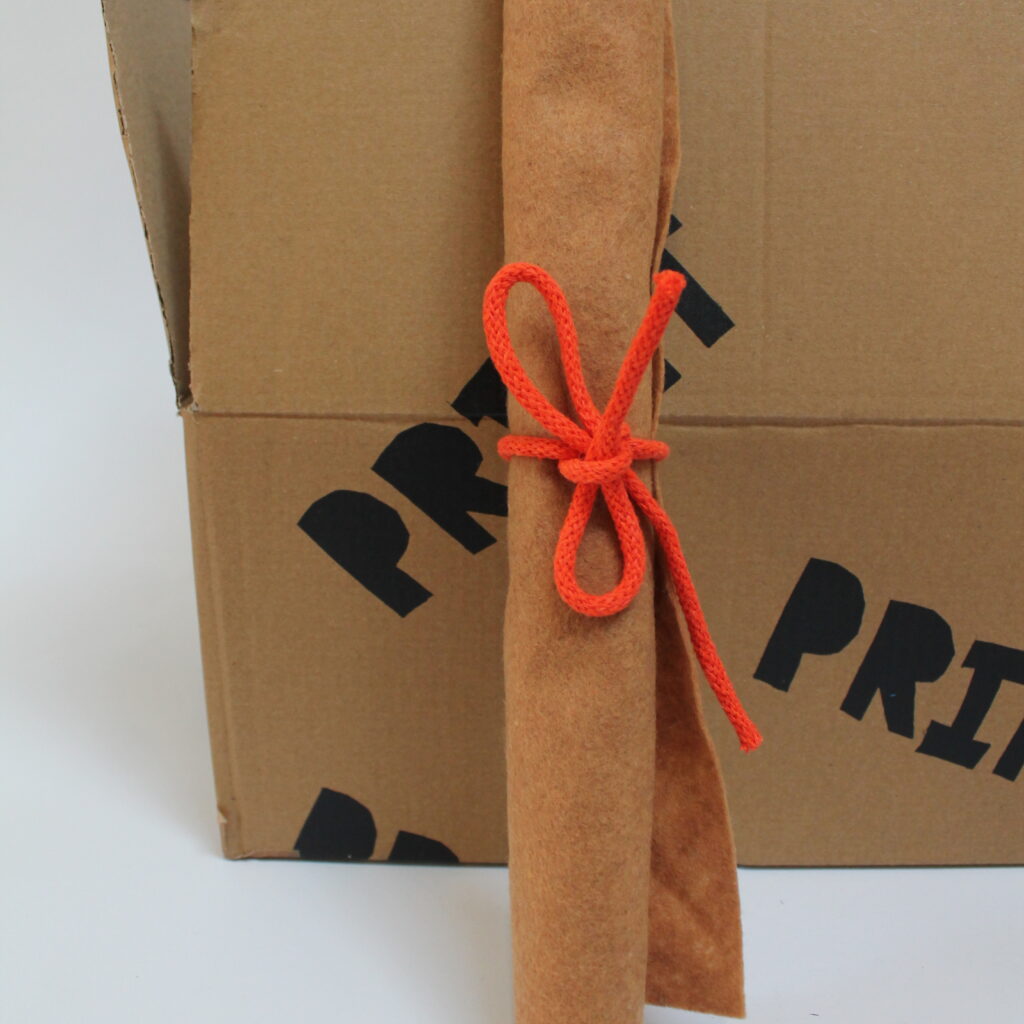
If you were in a professional printmaking studio and screen printing onto fabric, you’d very likely be using a padded table (the ‘cushion’ underneath the mesh helps all the tiny fibres in the fabric meet the ink and then spring back a little, once the squeegee has passed). You most likely don’t have a padded table, so I’ve included an A3 piece of felt (made from recycled bottles!) to mimic that.
Badge
Ooh look, a badge.
Postcard Voucher for your Zoom Demonstration & q+a
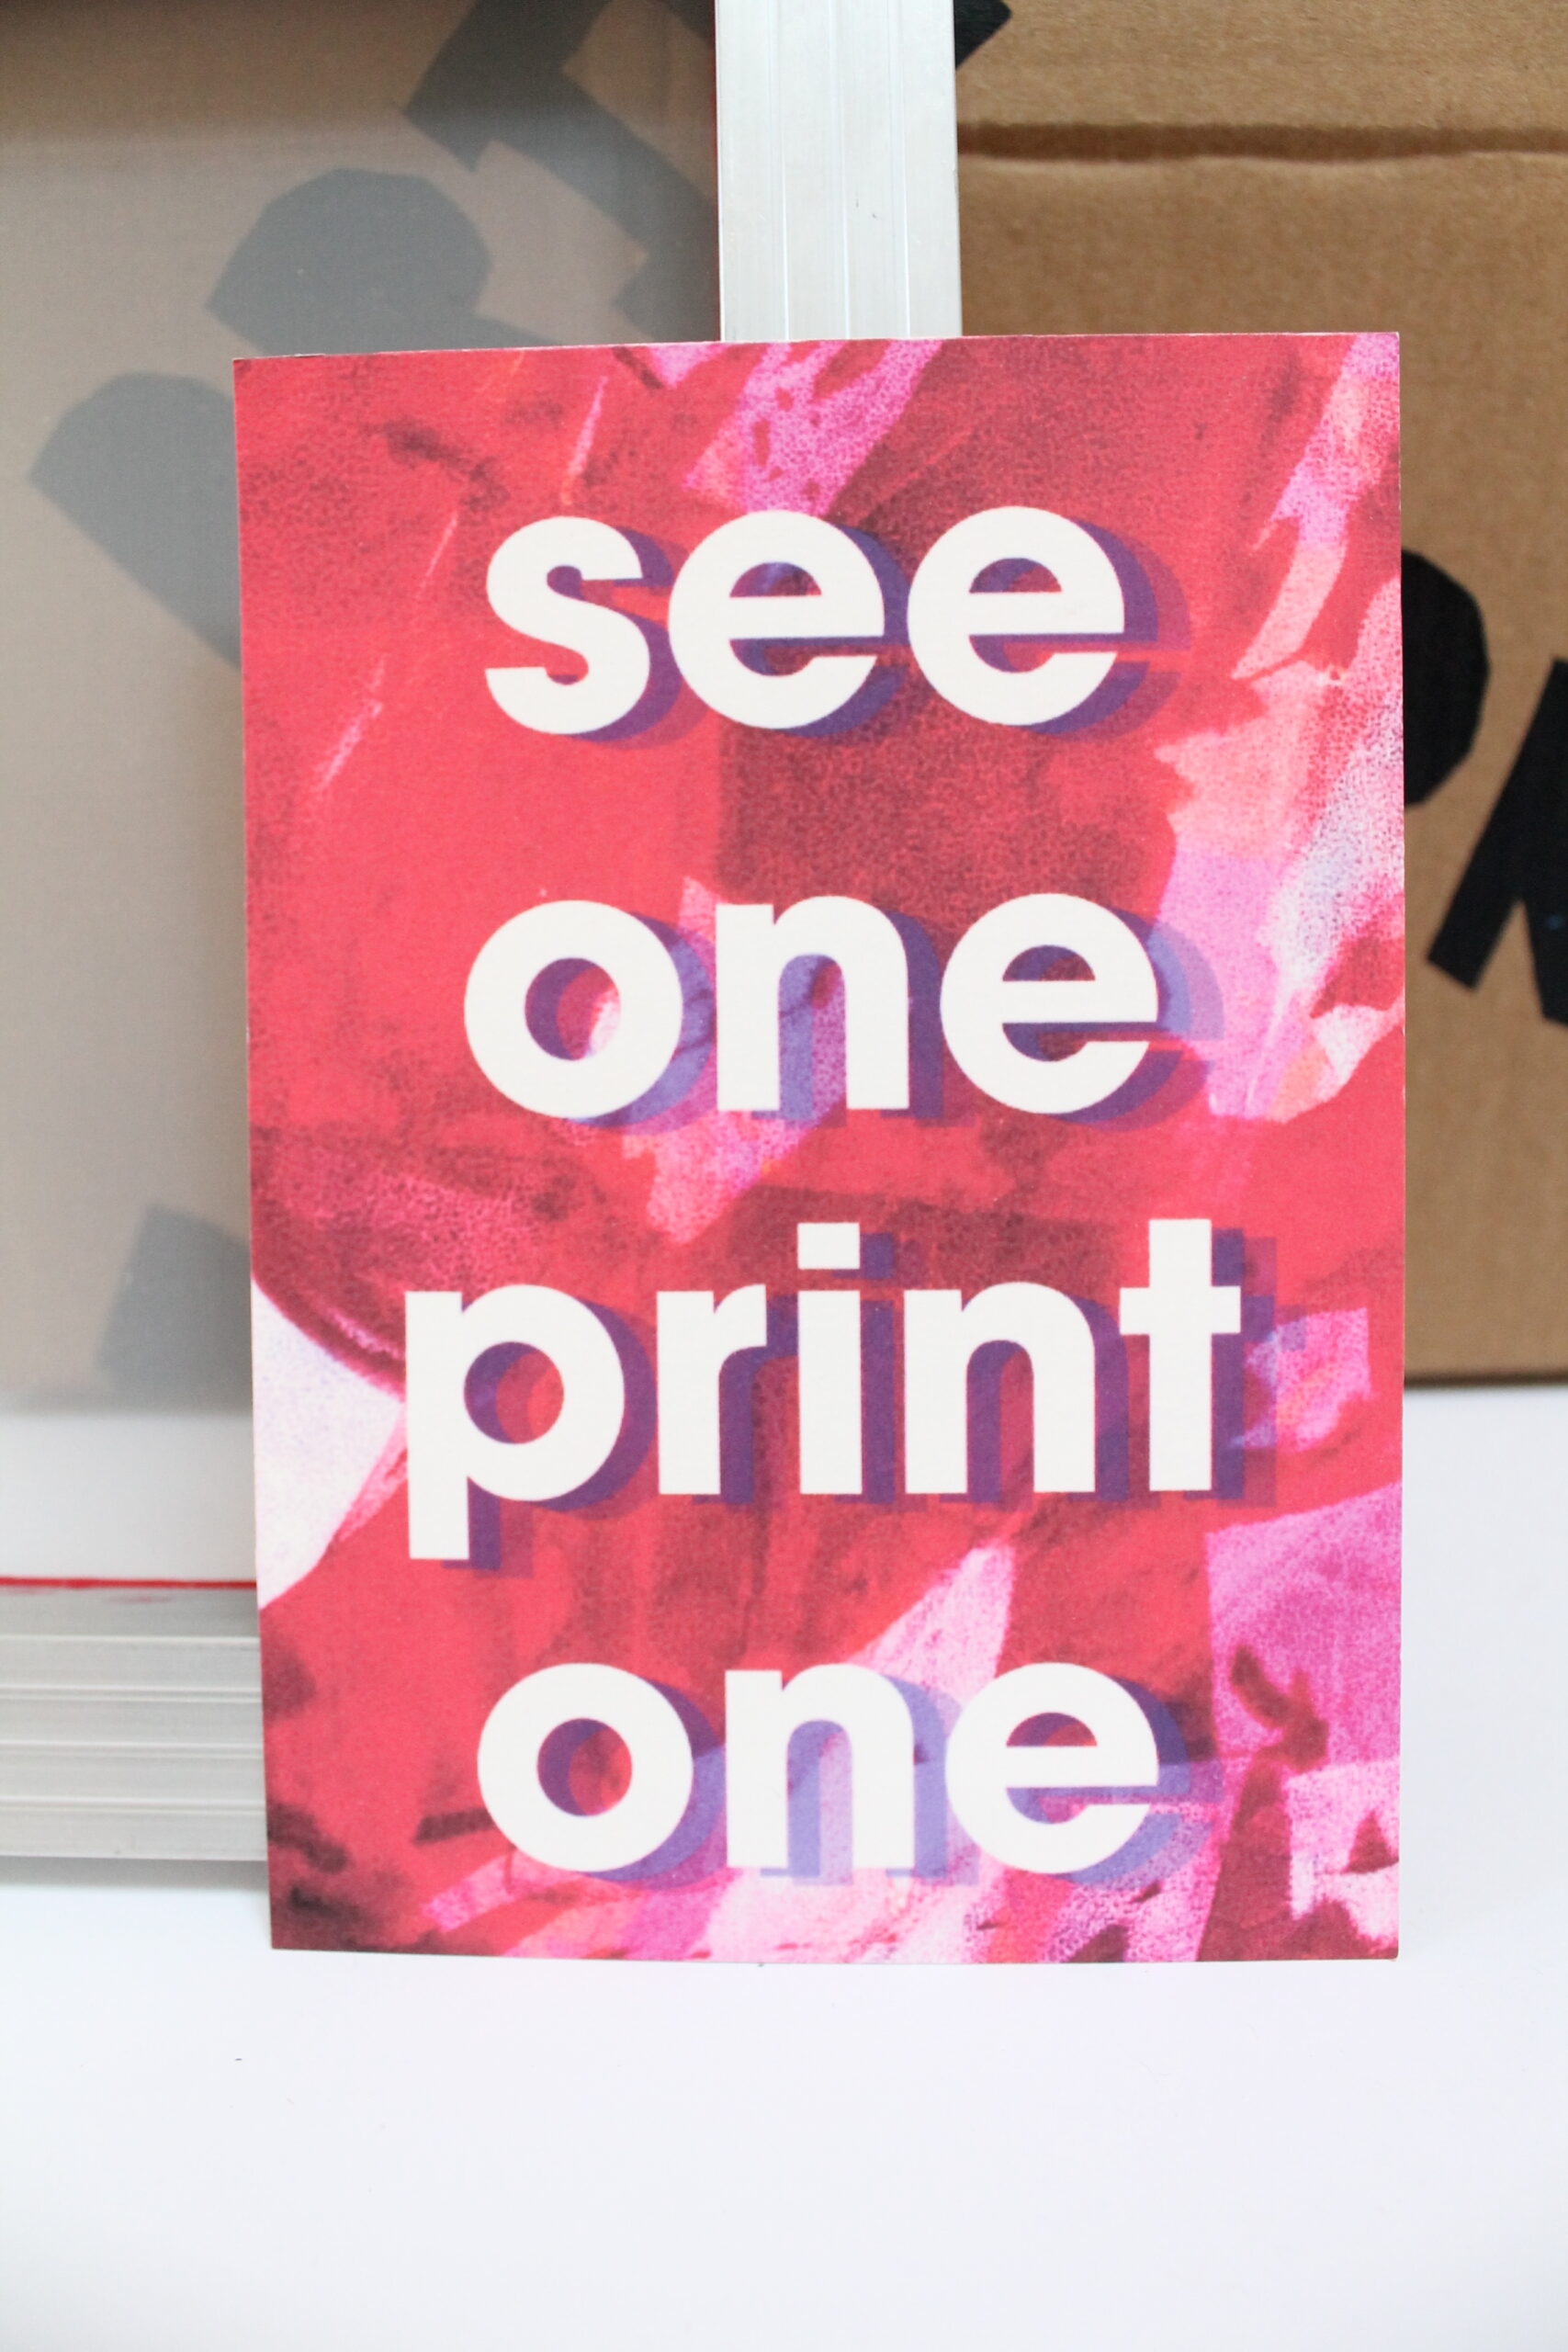
This postcard has a unique code on it, allowing one person to access the Zoom demonstration and q+a. It gives you instructions of where to find the latest dates for the online class, and how to book on. To see the dates for the latest Zoom sessions, click here.
Aaaaand that’s it. If you have any questions, just send me a DM on insta or email me here. Kits are in my shop here.